Apple Scrap Vinegar

Here in Alaska the fruit is very expensive. Apples are just about the cheapest fruit you can buy, and they are easily $3 (or more) per pound, so I try not to waste a bit (and buy them on sale). After making apple muffins from the before mentioned apples,, I had the skins and cores left. This would normally get composted, but I decided to try Apple Scrap Vinegar. This opened a flood gate of ideas, and I have not looked back. Many (MANY) trips to the library (and the online library), and after reading every book they had on fermentation, my kitchen has become a bubbling, burping, fermentation adventure!
Follow along and join me on what I now refer to as my "gateway" ferment.
Ingredients:
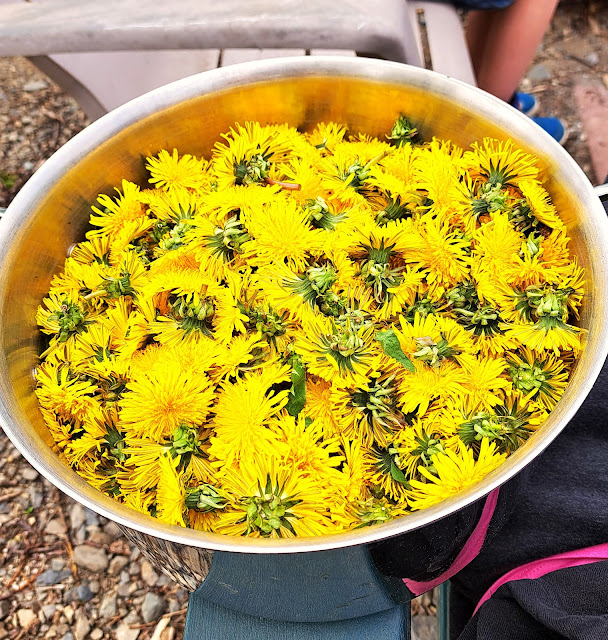
2 Cups of Apple Scrap (Chopped up Cores and peels of apples). You can use whole apples if you wish, but I feel like this is a great way to reduce waste.
1 Cup sugar
1 quart unchlorinated water
(Optional) unpasteurized apple cider vinegar with mother
1. Using a blender or food processor, blend up the chopped apple scrap, sugar, and water. Blend until it is a slurry. Or just finely chop with a knife.
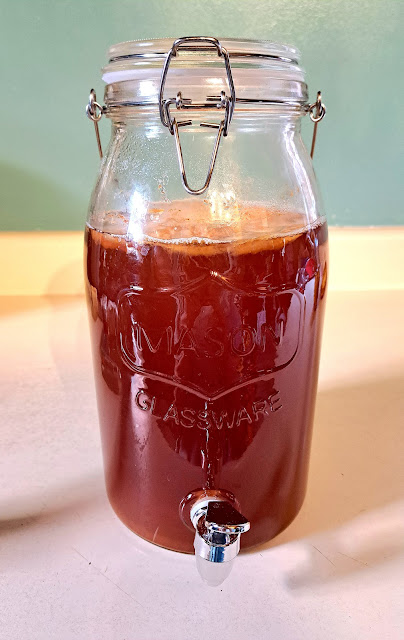
2. Pour your slurry into your fermentation vessel. For my first attempt, I used a vase :) later I bought a carafe with a plastic lid.

3. Cover with a plate, or cloth banded in place to keep bugs and dust out, but air flow in.


4. Strain out the scrap chunks. You can use a fine mesh strainer or cheese cloth. Press out the chunks and strain again.


6. Cover your container with a cloth, bowl, plate etc and let it sit, out of direct sunlight. In a few weeks you will likely grow a SCOBY, like you do when brewing Kombucha (see how to do that here!). But, you may just have pieces that float around or sink. This is the "Mother".

7. When you like the taste, then it is done! There is no black and white rule about when it is done. If it smells and tastes like vinegar - then it is vinegar.
8. Store your vinegar in the fridge, with as little air exposure as possible.
9. Keep some from this batch to jump start your next batch!


Comments
Post a Comment